PROXIMANOVA-LIGHT.OTF PROXIMANOVA-LIGHTIT.OTF PROXIMANOVA-EXTRABLD.OTF PROXIMANOVA-BOLD.OTFPROXIMANOVA-BLACK.OTF
Get this font in here!
This Article Applies to:
- AVG Business Cloud Console
Once you have downloaded the installer file from your console to a desired device
- Double-click the installer to run it
- If prompted, allow the installer to make changes to the device
- Click Install now to initialize the agent setup

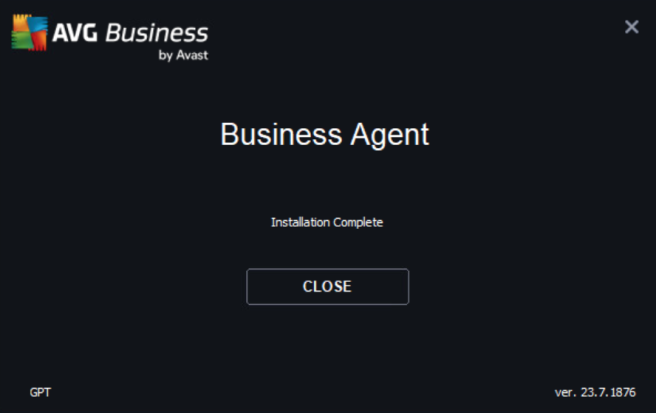
- Wait for the setup process to finish

- Upon successful completion of the setup, click Close to exit the installer (the deployment of any included services will continue in the background)
Once the AVG services/tasks start running (visible in Windows Task Manager), the client UI can be opened.
The device will be populated in the console after the installation completes — once the services finish their setup, they will become activated.
Any available service that has not been included in the installer can be added post-installation if needed, and any installed service can be removed anytime as well. For more information, see Managing Services.
Other Articles In This Section:
Adding Devices to Cloud Console
Network Discovery and Remote Deployment
Removing Devices From Cloud Console
Command-Line Installation Parameters
Related Articles: