PROXIMANOVA-LIGHT.OTF PROXIMANOVA-LIGHTIT.OTF PROXIMANOVA-EXTRABLD.OTF PROXIMANOVA-BOLD.OTFPROXIMANOVA-BLACK.OTF
Get this font in here!
This Article Applies to:
- AVG AntiVirus Business Edition
- AVG Internet Security Business Edition
- AVG File Server Business Edition
- AVG Email Server Business Edition
This article applies to unmanaged Antivirus only. If you are using managed Antivirus, you can add/remove Antivirus components via your console.
If you need to modify an existing Antivirus installation, you can do so via the AVG Business client UI or via Windows Control Panel.
Adding/Removing Components via Client UI
To add/remove Antivirus components via the AVG Business client UI:
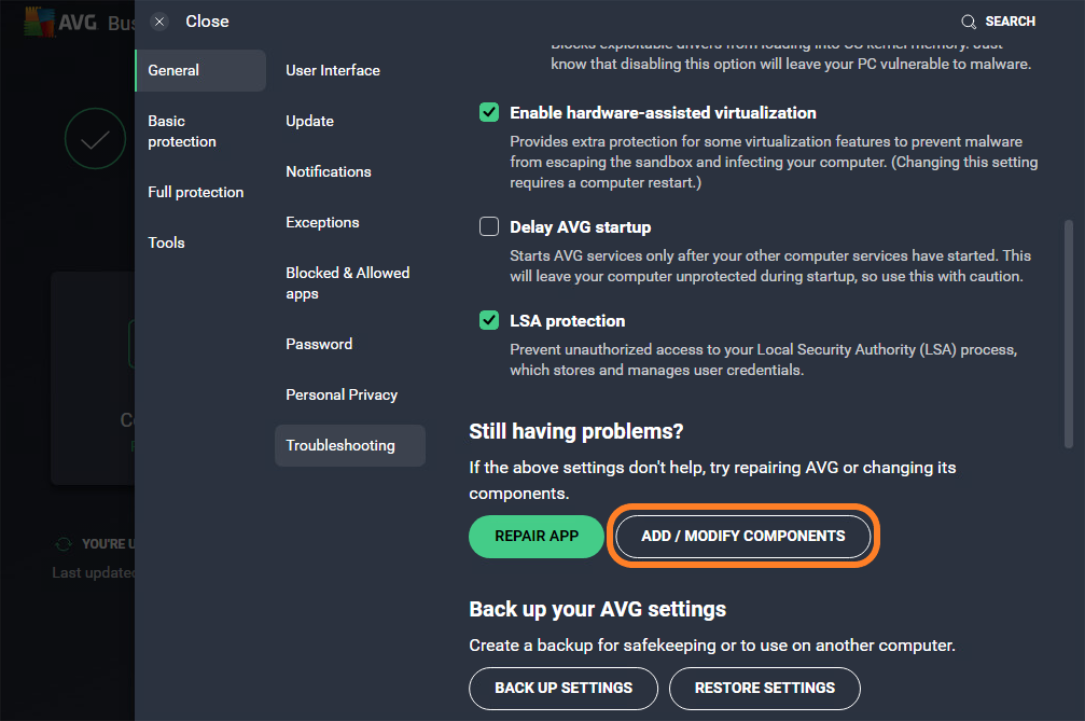
- From the client UI, go to Menu > Settings > General > Troubleshooting
- Scroll down to the Still having problems? section and click the Add/Modify Components button
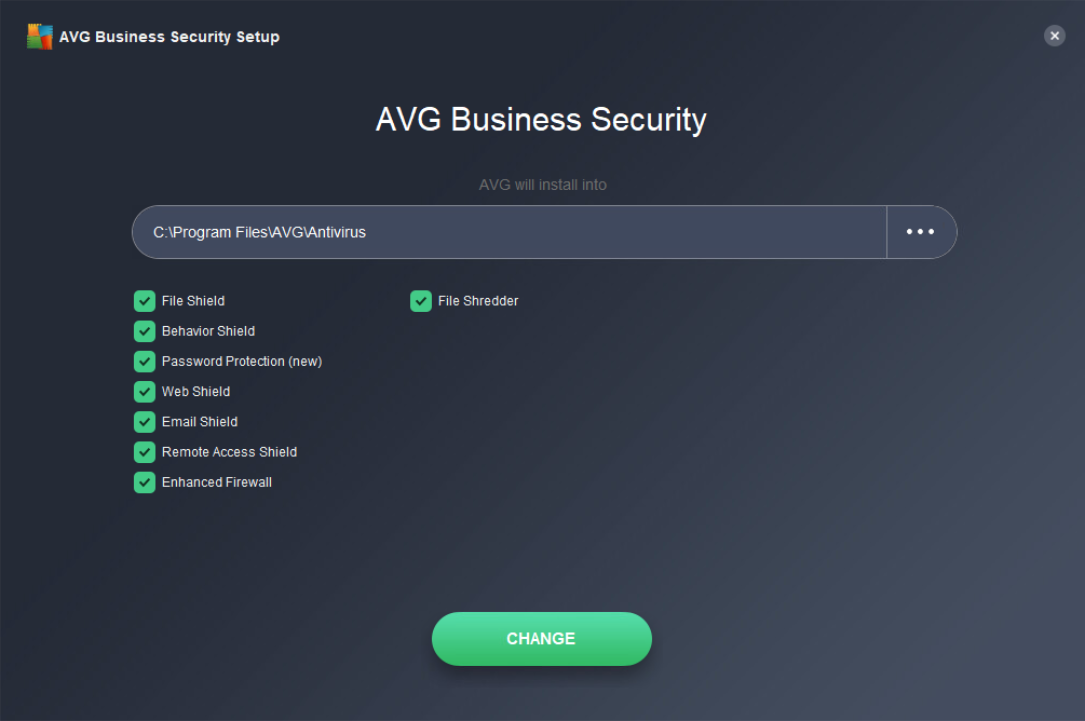
- Tick/untick the checkboxes next to the components you wish to add/remove, then click Change
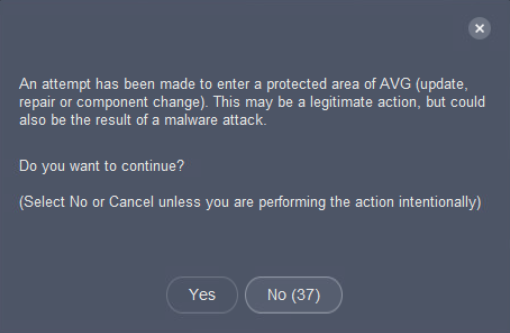
- Confirm the action
- If the client settings are password-protected, you will be prompted to enter the password.
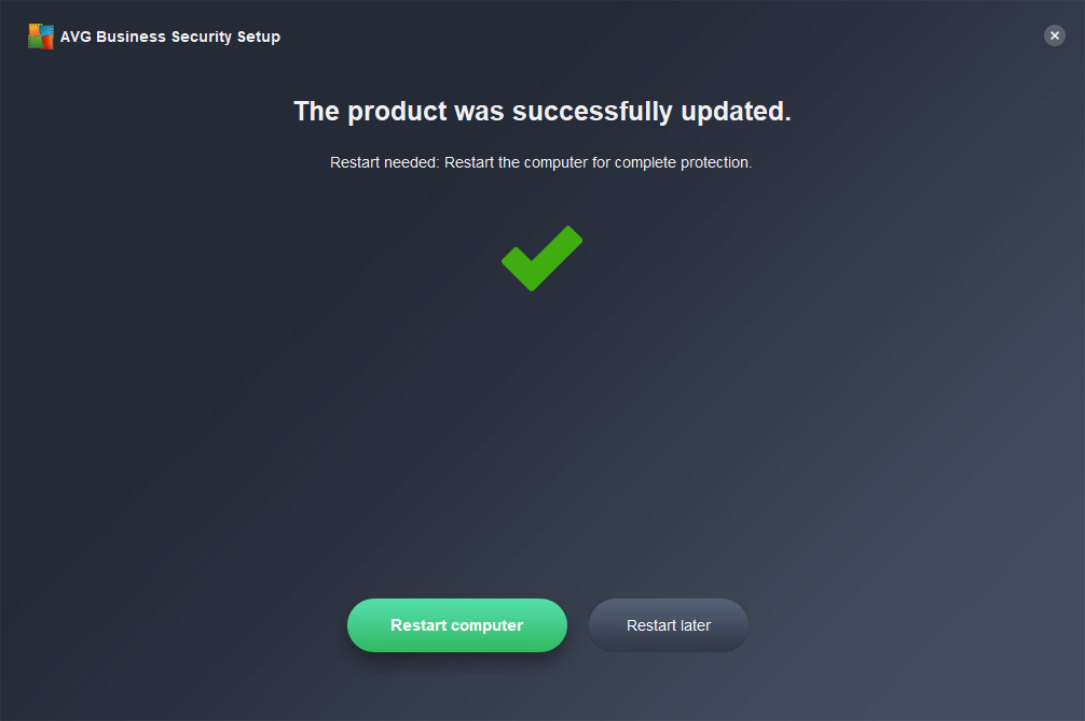
- Wait for the changes to be applied
- If prompted, restart the device
Adding/Removing Components via Control Panel
To add/remove Antivirus components via Windows Control Panel:
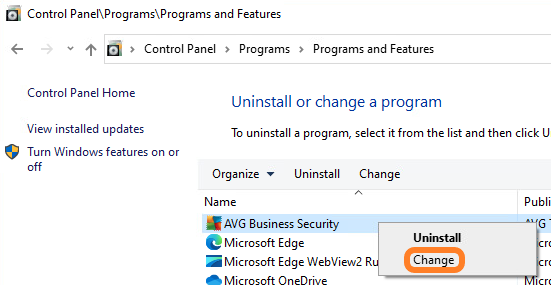
- Go to Control Panel\Programs\Programs and Features
- Locate and right-click AVG Business Security, then select Change
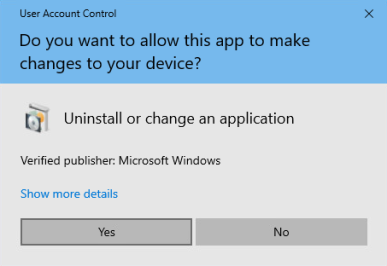
- Allow the app to make changes to the device
- Tick/untick the checkboxes next to the components you wish to add/remove, then click Change
- Confirm the action
- If the client is password-protected, you will be prompted to enter the password.
- Wait for the changes to be applied
- If prompted, restart the device
Other Articles In This Section:
Installing Unmanaged Antivirus
Setting Up Antivirus in Isolated Networks
Related Articles: