PROXIMANOVA-LIGHT.OTF PROXIMANOVA-LIGHTIT.OTF PROXIMANOVA-EXTRABLD.OTF PROXIMANOVA-BOLD.OTFPROXIMANOVA-BLACK.OTF
Get this font in here!
This Article Applies to:
- AVG Business Cloud Console
If you have configured AVG Boot-Time Scan without allowing for it to be canceled (see Allowing Boot-Time Scan Cancellation on Workstations for more information), you can bypass the scan on end devices the following way:
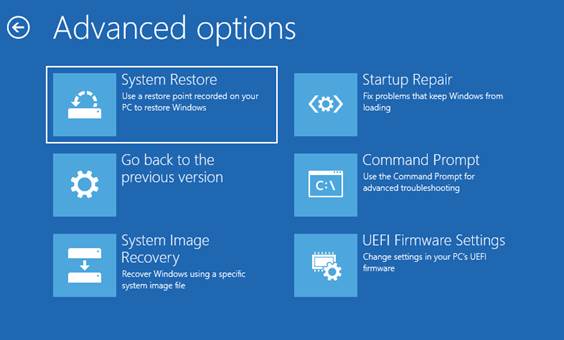
- Boot in to the Windows installation media in order to access the recovery options
- For more information, see Microsoft's Create Installation Media for Windows and Windows Startup Settings articles
- Select Troubleshoot, then Command Prompt
- In the Command Prompt window, type
bcdeditand hit Enter - To locate the drive letter of the Windows installation, verify the osdevice under Windows Boot Loader:

- Type
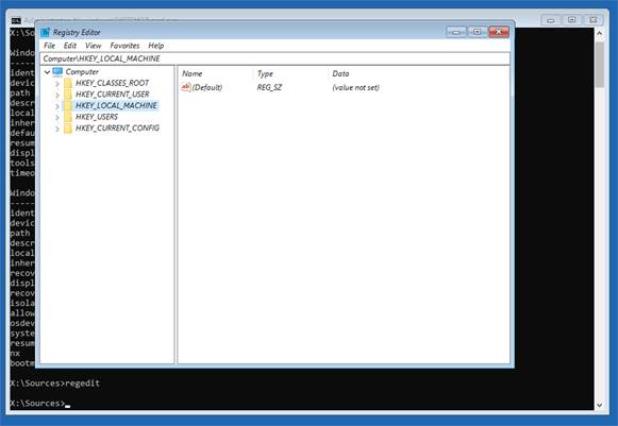
regeditin the Command Prompt and hit Enter - Select
HKEY_LOCAL_MACHINE
- Click File > Load Hive...
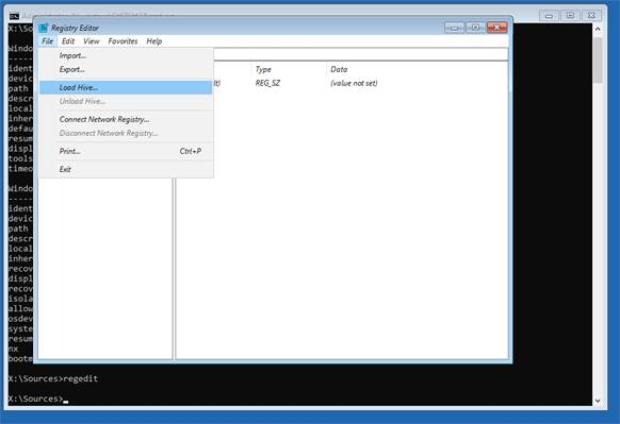
- Navigate to the %systemroot%\System32\Config directory
- In this example it is
C:\Windows\System32\Config
- In this example it is
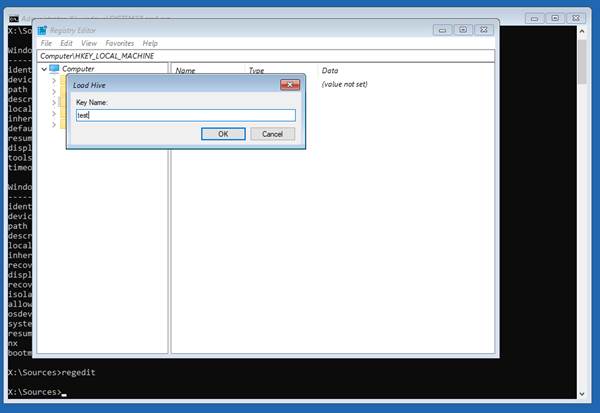
- Select the SYSTEM file and click Open

- Enter a key name, such as “test”, and click Ok
- The hive should successfully load
- Expand the loaded hive and navigate to ControlSet001\Control\Session Manager
- Double-click BootExecute, or right-click and select Modify
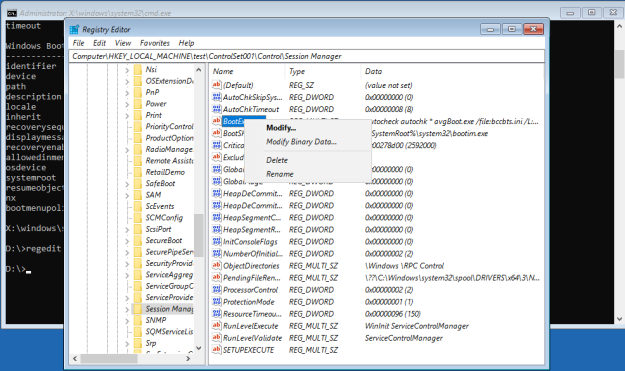
You should see something similar to the content below:
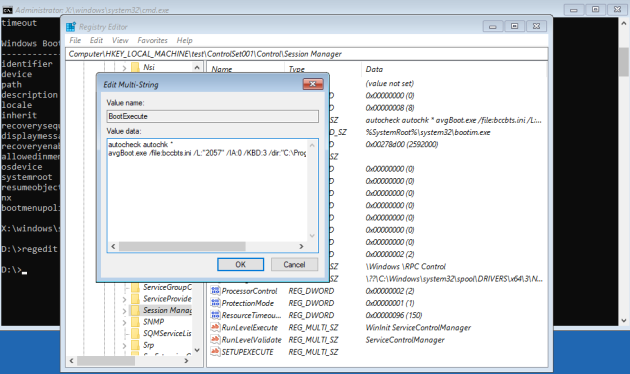
- Remove the line beginning with
aswBoot.exe, leaving the other entries, and click Ok- In most cases, the user will only have autocheck autochk * in the Value data
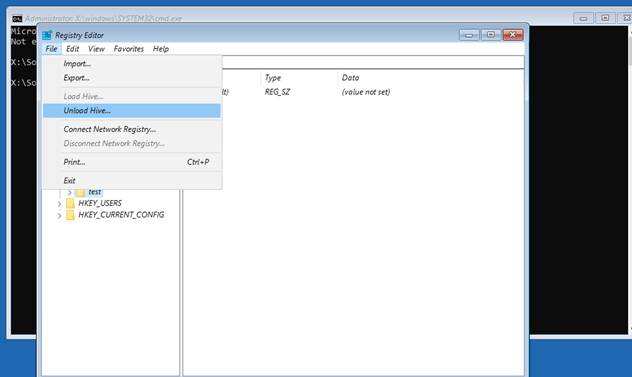
- Navigate back to the loaded hive (test, in this example) and select it, then click File > Unload Hive...
- Close the Registry Editor and Command Prompt, then select Continue to boot to the operating system. The system will now boot normally, bypassing Boot-Time Scan.
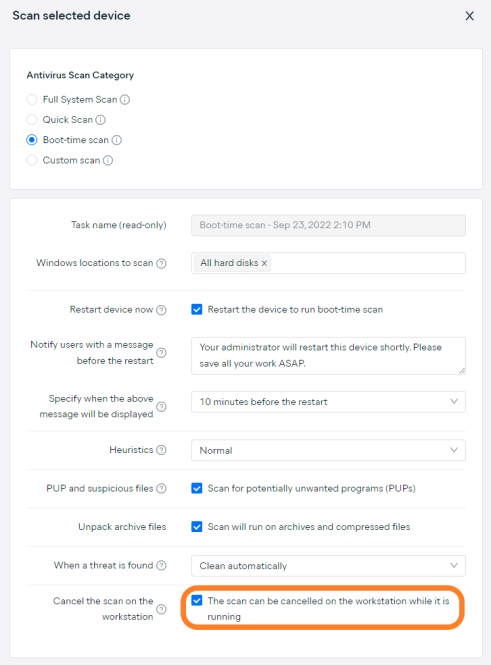
Allowing Boot-Time Scan Cancellation on Workstations
For future boot-time scanning, ensure that the checkbox to cancel is ticked when configuring the scan via your console.
Other Articles In This Section:
Creating and Sending Support Packages
Fixing Malware Detection Alerts From WPAD.dat
Related Articles: