PROXIMANOVA-LIGHT.OTF PROXIMANOVA-LIGHTIT.OTF PROXIMANOVA-EXTRABLD.OTF PROXIMANOVA-BOLD.OTFPROXIMANOVA-BLACK.OTF
Get this font in here!
This Article Applies to:
- AVG Business Cloud Console
During the process of adding a device to the Cloud Console, a policy through which that device will be managed needs to be preselected (see
The quickest way to change the assigned policy for a single device would be via the drop-down menu in the device's Policy column.
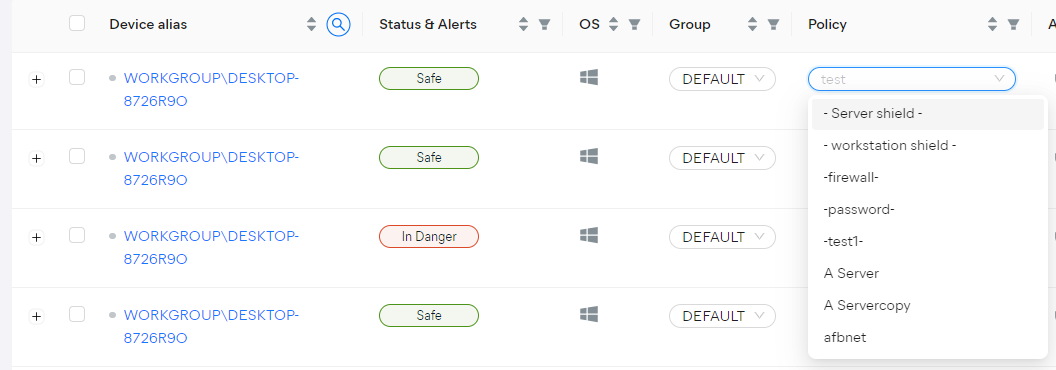
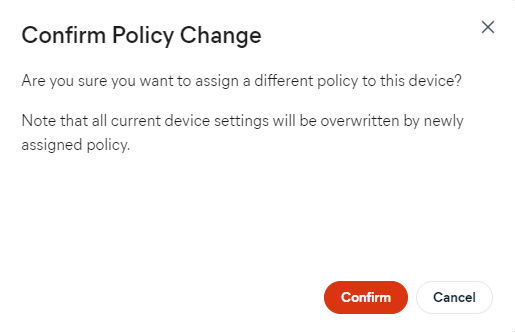
Note that all settings from the previously used policy will be overwritten by those in the new policy.
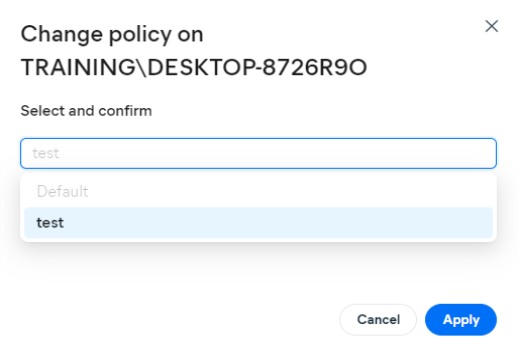
You can also change a device's policy by opening the device's actions menu (three dots), then hovering over Change and selecting Change Policy.

In the pop-up dialog, use the drop-down menu to select the policy you wish to switch the device to, then click Apply.
One more way to change a device's assigned policy is from the device's Detail drawer - use either the actions menu in the top right corner or the drop-down menu in the About tab.

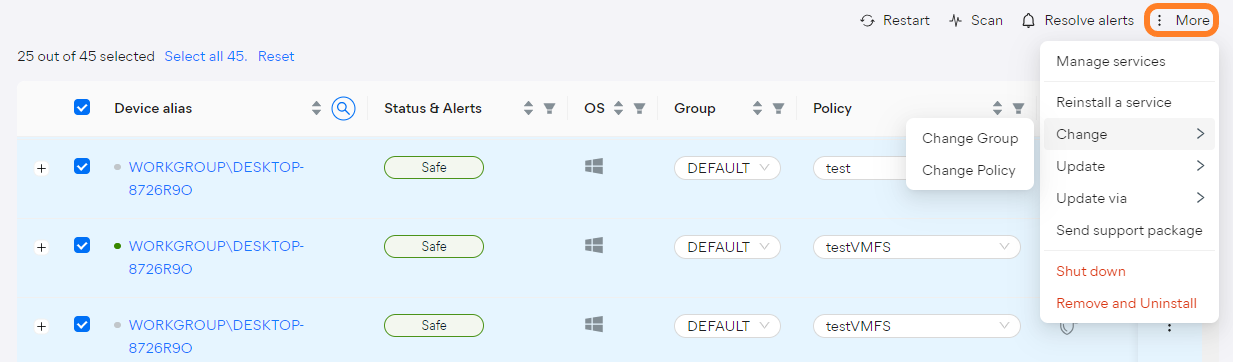
If, however, you need to change the policy for multiple devices, tick the checkboxes next to those devices, then select More > Change > Change Policy.
Lastly, you can change which of your devices are using a certain policy via that policy's Assignments settings. For more information, see Managing Policies.
Other Articles In This Section:
Related Articles: