PROXIMANOVA-LIGHT.OTF PROXIMANOVA-LIGHTIT.OTF PROXIMANOVA-EXTRABLD.OTF PROXIMANOVA-BOLD.OTFPROXIMANOVA-BLACK.OTF
Get this font in here!
This Article Applies to:
- AVG AntiVirus Business Edition
- AVG Internet Security Business Edition
- AVG File Server Business Edition
- AVG Email Server Business Edition
To configure Antivirus update settings:
- From the client UI, go to Menu > Settings > General
- Select the Update tab
- Next to the two Check for Updates buttons, click More options, then do one of the following:
- If you want AVG to check for and perform updates automatically, select Automatically update my virus definitions and Automatically update my application
- If you want AVG to check for updates automatically but require your confirmation before they are installed, select Remind me when an update is available for virus definitions and/or Remind me when an update is downloaded for program updates
- If you want to manually run updates (using the Check for updates button), select I'll update them manually for virus definitions and I'll update it manually for program updates
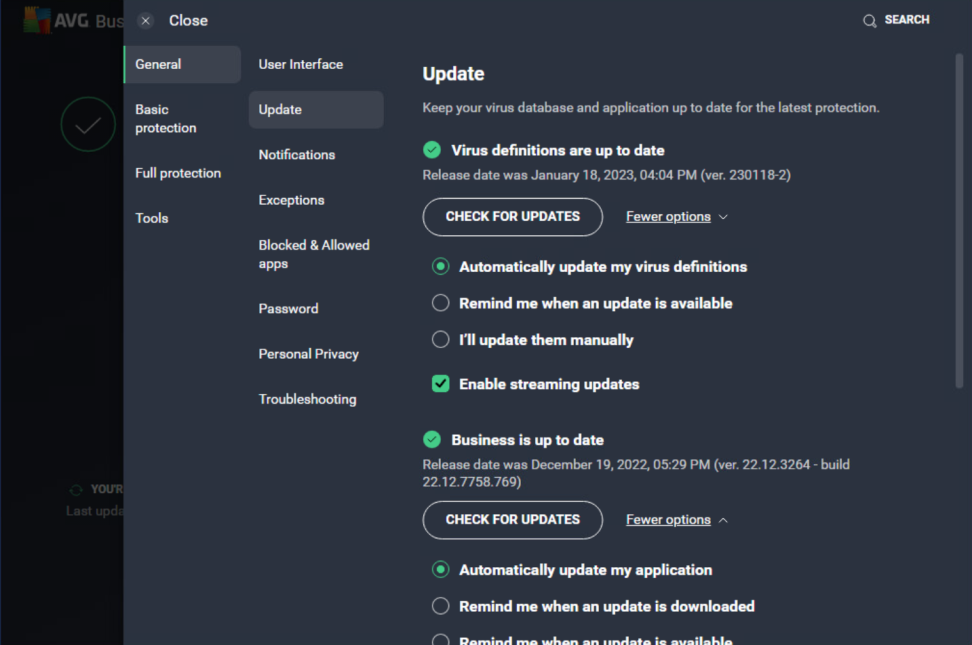
You can also enable streaming updates, which will download microupdates continuously as new malware is discovered, without the need for a "full" virus definition update to be downloaded.
For program updates, if the network has a proxy server, you can specify the proxy server type, address, port, and authentication (see
Lastly, you can change the interval for automatic update checks via the client's Geek Area:
- Go to Menu, then select Settings
- Click Search in the top right corner
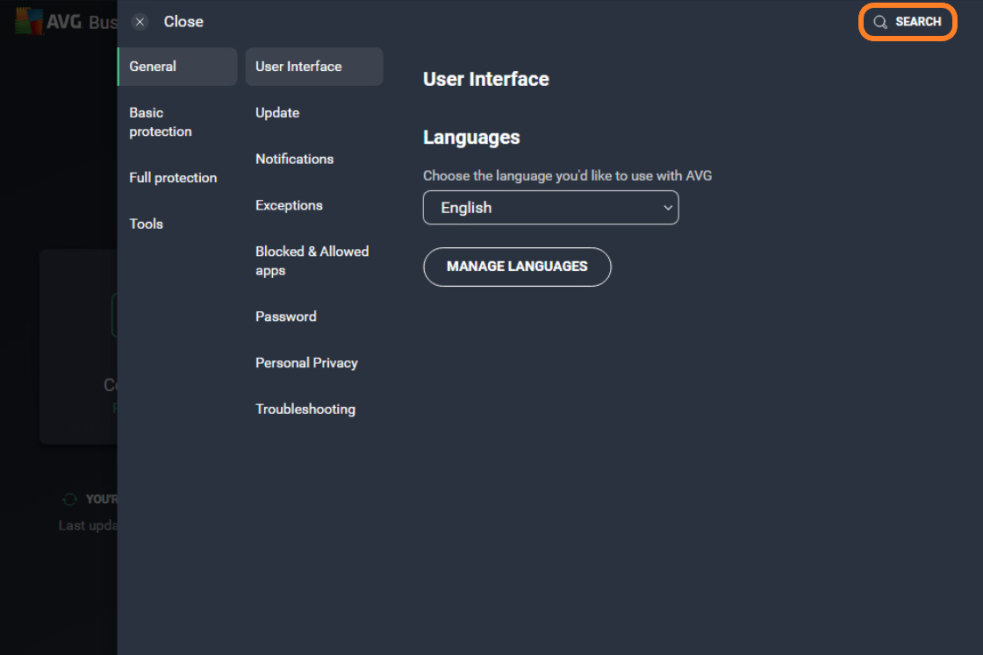
- Type geek:area in the search field, then hit Enter
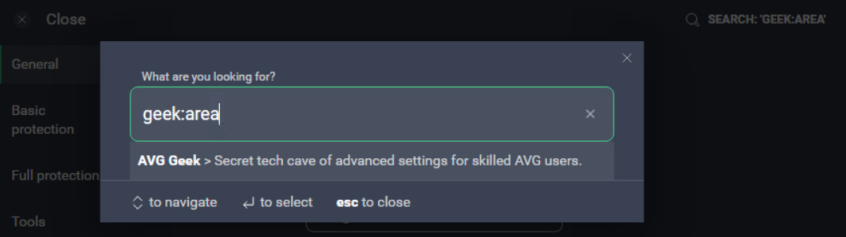
- Scroll down to the Update section
- In the designated field, type in the desired interval (the default value is 240 minutes)
Related Articles: