PROXIMANOVA-LIGHT.OTF PROXIMANOVA-LIGHTIT.OTF PROXIMANOVA-EXTRABLD.OTF PROXIMANOVA-BOLD.OTFPROXIMANOVA-BLACK.OTF
Get this font in here!
This Article Applies to:
- AVG AntiVirus Business Edition
- AVG Internet Security Business Edition
- AVG File Server Business Edition
- AVG Email Server Business Edition
If your network uses a proxy server, you will need to configure the related settings for application updates as follows:
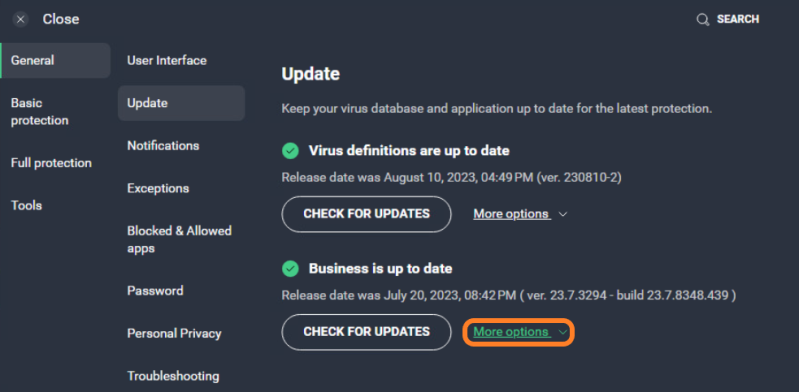
- From the client UI, go to Menu > Settings > General
- Click the Update tab
- Click More options in the program updates section
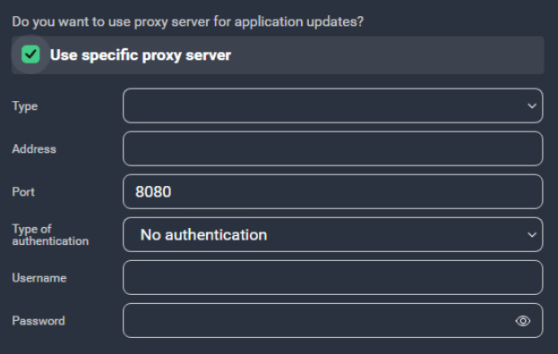
- Tick the Use specific proxy server box
- Fill in the following information:
- For Type, select either HTTP or SOCKS v4
- For Address, enter the IP address for your proxy
- For Port, enter the port number for your proxy
- For Type of Authentication, select either No authentication, Basic authentication (plaintext), or Windows integrated authentication (NTLM)
- If you are using authentication, enter the Username and Password
Without the required proxy server settings in place, the updates will likely fail.
Related Articles: